Showing posts with label baking. Show all posts

Friday, 9 January 2015

Baking: Moustache biscuits

I was given moustache biscuit cutters by a lovely friend, and set about making moustaches for all my colleagues.   The actual recipe was one I've used before, pinched from my good friend Lady Scoof-a-lot (minus the chocolate) and as she describes it so well, I won't bore you with repeating the procedure.  I will, however, show you the actual result.   Aren't you lucky?


 Different shaped moustaches

  Me modelling one

Friday, 2 May 2014

Baking: Millionnaire Shortbread

This is some good, tasty, unhealthy stuff!   It's a layer of shortbread, with a layer of caramel on top of it, topped off with chocolate.   Yum yum!  

For the shortbread:

500g plain flour
150g sugar
350g butter

For the caramel:

200g butter
200g sugar
800g condensed milk

For the topping:

400g milk chocolate


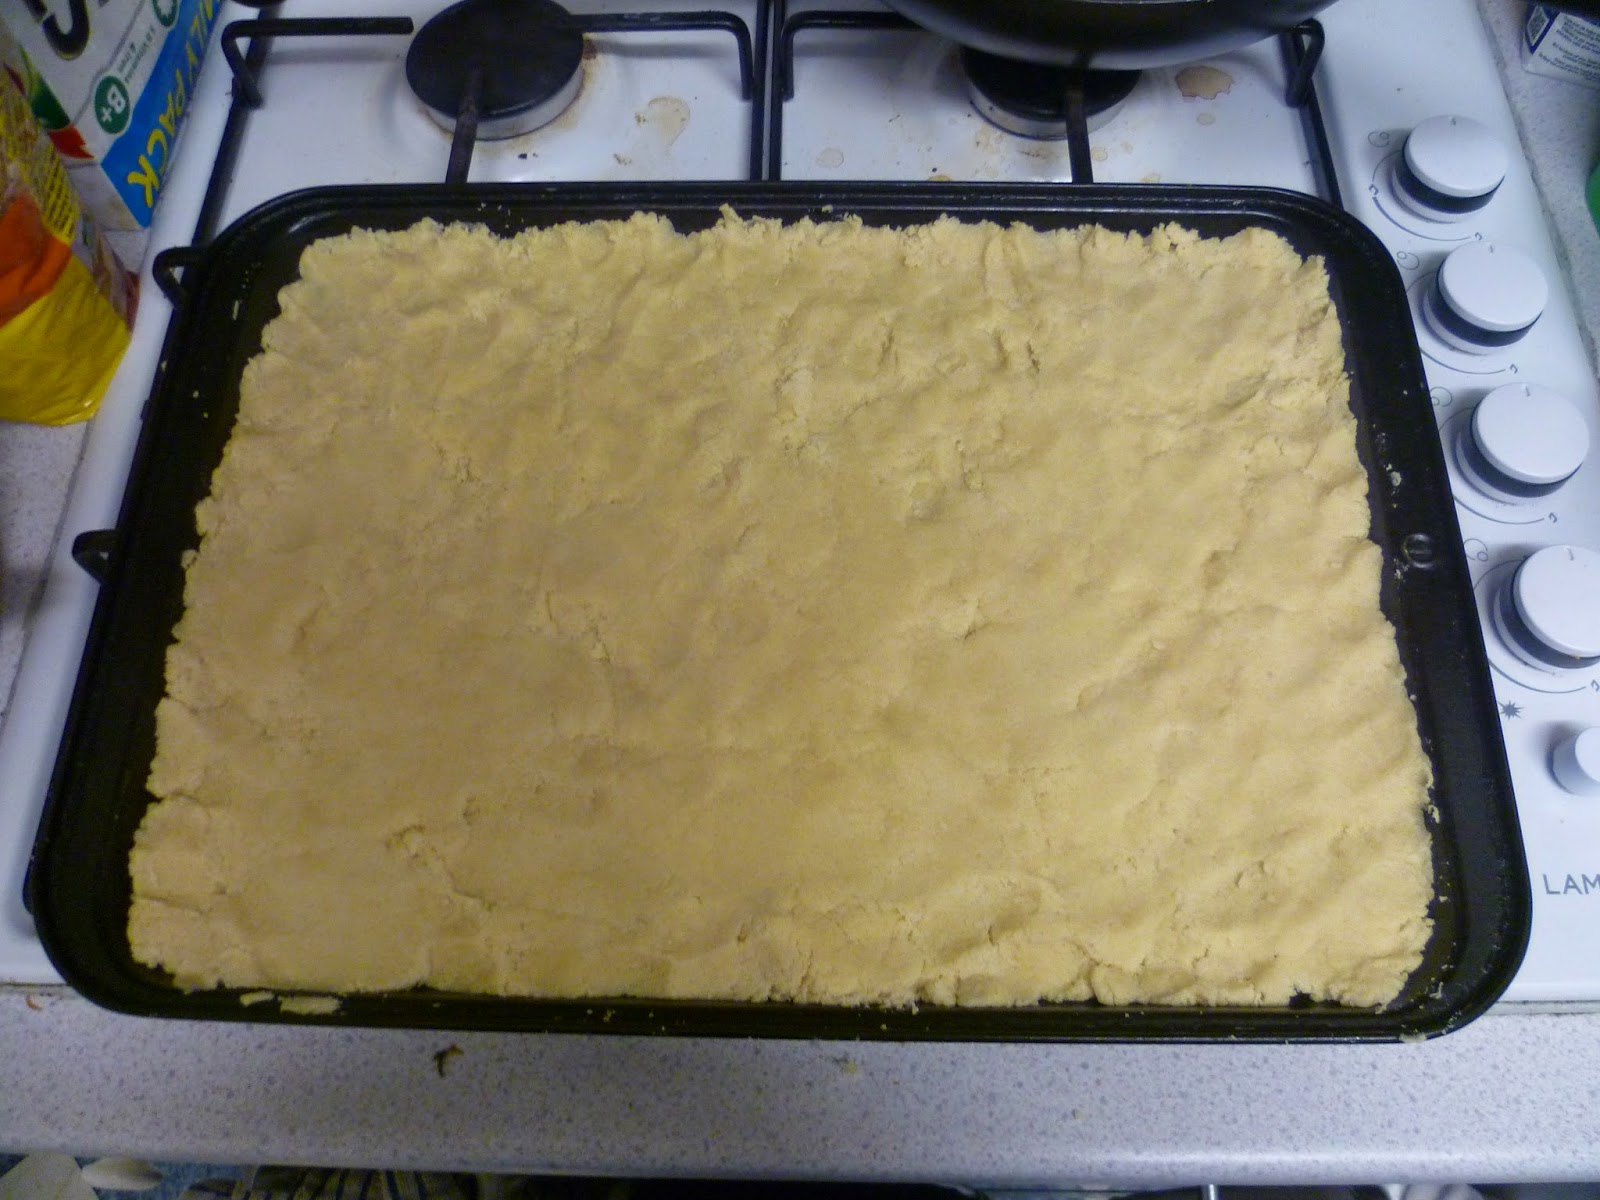
Despite the three layers, this is a pretty easy recipe, though it is a bit time-consuming because you have to wait for things to cool before adding the next layer.   Start by making the shortbread.   Mix the flour and sugar together and rub in the butter, to make a dough.   Press the dough into a baking tray with your fingers and bake at 180 degrees until slightly golden on top.   This should take about 20 minutes.   This also works well as a stand-alone shortbread recipe.  

Next, make the caramel.   Melt the butter in a saucepan, add the sugar and then the condensed milk and bring it to the boil.   This takes longer than you think it will, and I can never manage it without ending up with a few burnt bits.   Simmer it for about 10-15 minutes, then pour over the cooled shortbread.  

Finally, melt the chocolate and smooth it over the top of the cooled caramel.   Leave to set and cut into squares.   Yum!


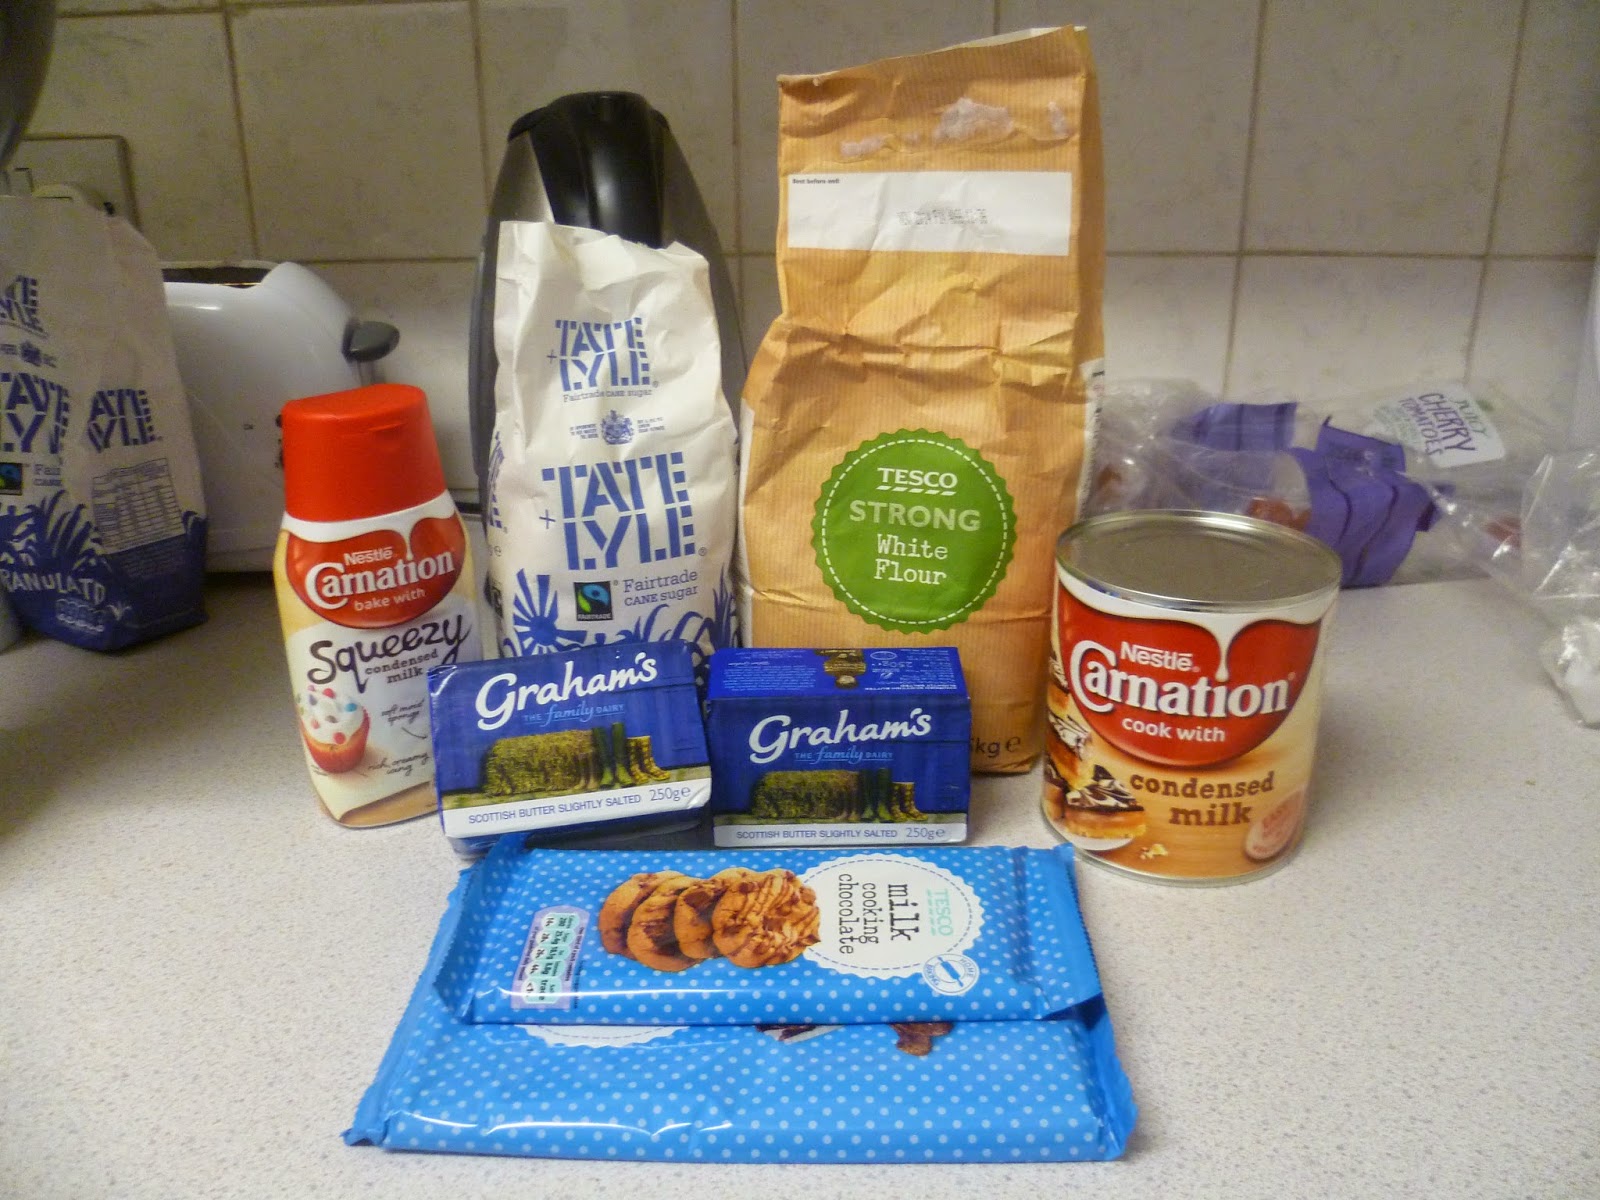
Ingredients   
Shortbread pre-baking

 Caramel, complete with burnt bits


 Chocolate set and cut into squares


Cross-section! 


Saturday, 15 June 2013

Baking: My Disney Birthday Party, Part 2: The Cake

As a continuation of this post, I decided to take on the challenge of baking myself a Disney castle cake.   I thought about doing a three tier cake with ice cream cones for turrets, and even after looking around online that still seemed like the best idea.   I decided to rent a set of tins from a local cake shop for the occasion.   No sense in buying tins that big when I wouldn't use them often.   So I bought large amounts of cake ingredients and set about baking three cakes.  


That's where the trouble started.   The baking itself should have been the easy part, but it still went wrong.   I used a simple sponge recipe, and one that I'd used lots before, but for some reason on this scaled up level the big cakes sank.   I have no idea what went wrong!   Maybe you need special recipes for very big cakes?   Something to research and improve anyway.   Luckily though the cakes were solid enough that I could just turn them upside-down and hide the sunken bits.   Next came the piling the cakes on top of each other part.    Easy enough, except that the top two cakes were too wide to leave much space for ice cream cone turrets, so I had to cut them both down to size a bit to make room for them.  Next came the icing.   I'd chosen to do the castle in pale blue, with darker blue turret roofs, and purple decorations.   I decided to use fondant icing, dyed with fondant icing pastes. 


                                        Fondant icing with pastes and edible glitter and stars

                                          The three colours of fondant icing I used.  


Icing the cake went smoothly enough.   The icing for the turret roofs had to be cut into skirt shapes before it could be put onto the ice cream cones, but still, it went well.   I then decided to stack up multiple cones so that the turrets would have walls as well as roofs.   We decided to ice the cones with butter icing, because it would stick well.   So we made and dyed some butter icing.   Annoyingly, because of butter's yellow colour, it's hard to get the exact colour you want, and our butter icing didn't quite match the rest of the cake.  Ah well.   I'm sure no one noticed.


So iced turrets were set onto the cake in as castley an arrangement as we could manage.   Next the whole thing was decorated with edible glitter, edible gold stars, flags, doors and drawbridges, windows and purple icing flowers.   Perfect!   Very Disney.   I also bought fountain candles to be like the Disney castle fireworks.   Good effort all round, I feel.  


Monday, 11 February 2013

Pecan Meringues

Yes, another baking post already, and yes, this one involves meringue as well.   This is a very simple but very tasty recipe.   So nutty and delicious.   Ingredients are as follows:

4 egg whites
225g sugar
160g ground pecans

Beat the egg white until stiff, fold in the sugar and pecans.   Then put spoonfuls onto a baking sheet and bake for 40 minutes at 120 degrees C.   Et voila!   Easy!  


Monday, 28 January 2013

Coconut meringue cake

This is one I'd been wanting to try for a little while.  I used:

125g butter
225g white sugar
3 eggs
125g self raising flour
125g dessicated coconut (plus some extra)
80ml milk


I softened the butter, beat in 125g sugar, separated the eggs and beat in the egg yolks.   I added the milk, flour and...a certain amount of coconut.   The recipe I found didn't have any coconut in the cake mix itself, but I wanted some in there too.  


So, that was the cake mix.   For the meringue topping I whipped the egg whites until stiff, and folded in the remaining 100g sugar.   I then added 125g dessicated coconut.   I thought it looked like quite a lot of coconut for so little meringue and I was right.   The meringue went completely flat and I was worried about whether it was going to come out ok.   But I spooned the cake mix into a cake tin, and carefully put the meringue mix on top of it and baked at 180 degrees.  


The cake came out pretty well.   It was very moist and tasty, and the meringue layer held together ok.  


However, I felt I'd like it better if the meringue on top was more of a meringue and less of a thin coconut crust, so I made a second attempt.   This time, I added the whole 125g coconut to the cake mix and just put a handful on coconut into the meringue mix.   I feel the second attempt worked a lot better!   Tasty, moist coconut cake with a light meringue topping.   Delicious!   Sadly, however, I seem to have failed to take a picture of cake number two.   Sad face.   You'll just have to take my word for it!

Monday, 17 September 2012

Soda Bread

Yes, I know there have been a lot of food-related posts lately.   This is the last one for a while, promise.   Anyway, inspired by my recent to Northern Ireland I decided to try my hand at soda bread.   I used:

300g wholemeal flour
250ml buttermilk
1 tsp salt
1 tsp bicarbonate of soda


I mixed it altogether and put it in the oven at 200 degrees for 40 minutes.   Simples!   And also yummy!  

 
                               Ok, it doesn't look that tasty.   The photo doesn't do it justice!


One thing I learned though was to NOT bake it on greaseproof paper.   It stuck and wouldn't come off.   Next time I'll put it straight into the loaf tin.   Recommended warm with butter.   Enjoy!  


Saturday, 15 September 2012

Baclava!

Yes, another food post.   I love baclava.   Love it, love it, love it!   So I decided to try making the gloriously unhealthy stuff for myself.  

After much deliberation I decided not to make the filo pastry myself.  Usually buying things that I can make myself is kind of against my principles, but in this case I decided to just buy it, as making it from scratch just sounded like a right royal pain.   Here's a shot of my ingredients:


I started by unwrapping the filo pastry.   Once it's open this stuff dries out really fast so it's important to work fast, or keep it covered with a damp cloth.   I took half the filo pastry sheets, placing them in a baking tray one at a time, and painting the top of each one with melted butter.   Like so:


Ouch!  My colesterol levels are shooting up just looking at this!   I then added a layer of the chopped nuts mixed with a couple of spoons of sugar, and spices to taste.   Then I added the remaining filo pastry sheets, painted with copius amounts of butter.   That done, I took a sharp knife and cut it up ino bite size pieces.   Next the whole lot went into the oven at 180 degrees for 20 minutes.    I then turned the oven down to 150 degrees and baked for a further 40 minutes.   While it was cooking I made the sugar syrup to pour over the top.   I used 350g sugar, water and a little lemon juice, over a low heat.   When the baclava came out of the oven I poured the syrup over the top and left it overnight to soak in.   Yum yum!


I will definitely be making this again!   But I will be doing things a bit differently.   I really used too many sheets of pastry.   The top couple didn't really to the rest particularly well.   Next time I will only use about 10 sheets per level.   I also want to try making the syrup with honey instead of sugar.   Much more tasty!