For my birthday party this year I decided to have a Disney theme. What a fun idea! At first I was going to limit it strictly to old school Disney classics, but then the more I thought about it, the more I decided I wanted to go as Merida from Brave. Because she's awesome and taught me that you can have masses of ginger curls and still be a princess. Hurrah! So I went online and started looking for Merida costumes. There didn't seem to be any adult ones anywhere. Nevermind, I thought, I've got two months. I'll make one. I've made a dress already, so I have a bit of an idea what I'm doing. It'll be fine! So off I went to Mandors to look for a pattern. They're the best place I've found for patterns. This is their website. I decided to go for this one:
I did pattern C (bottom right) only without all the fancy decorative bits and millions of buttons on the sleeves. Next stop was fabric. I went to Edinburgh Fabrics for this (http://www.edinburghfabrics.co.uk/). This being a costume I decided I wanted to make it as cheaply as possible, so I settled for some very cheap satin lining material. Once again, going for a cheap fabric proved to be a BAD DECISION! The fabric turned out to be fairly horrible to work with. It unraveled itself pretty easily, so that I often ended up having to sew seams a couple of times to get them to stay. Not only that, but it turned out to not be ironable, as I found out to my cost while trying to iron on interfacing. Not only did I have to make a whole sleeve again, but I also had to buy a new ironing board cover. So yes, no more cheap fabric! Anyway, this was my fabric:
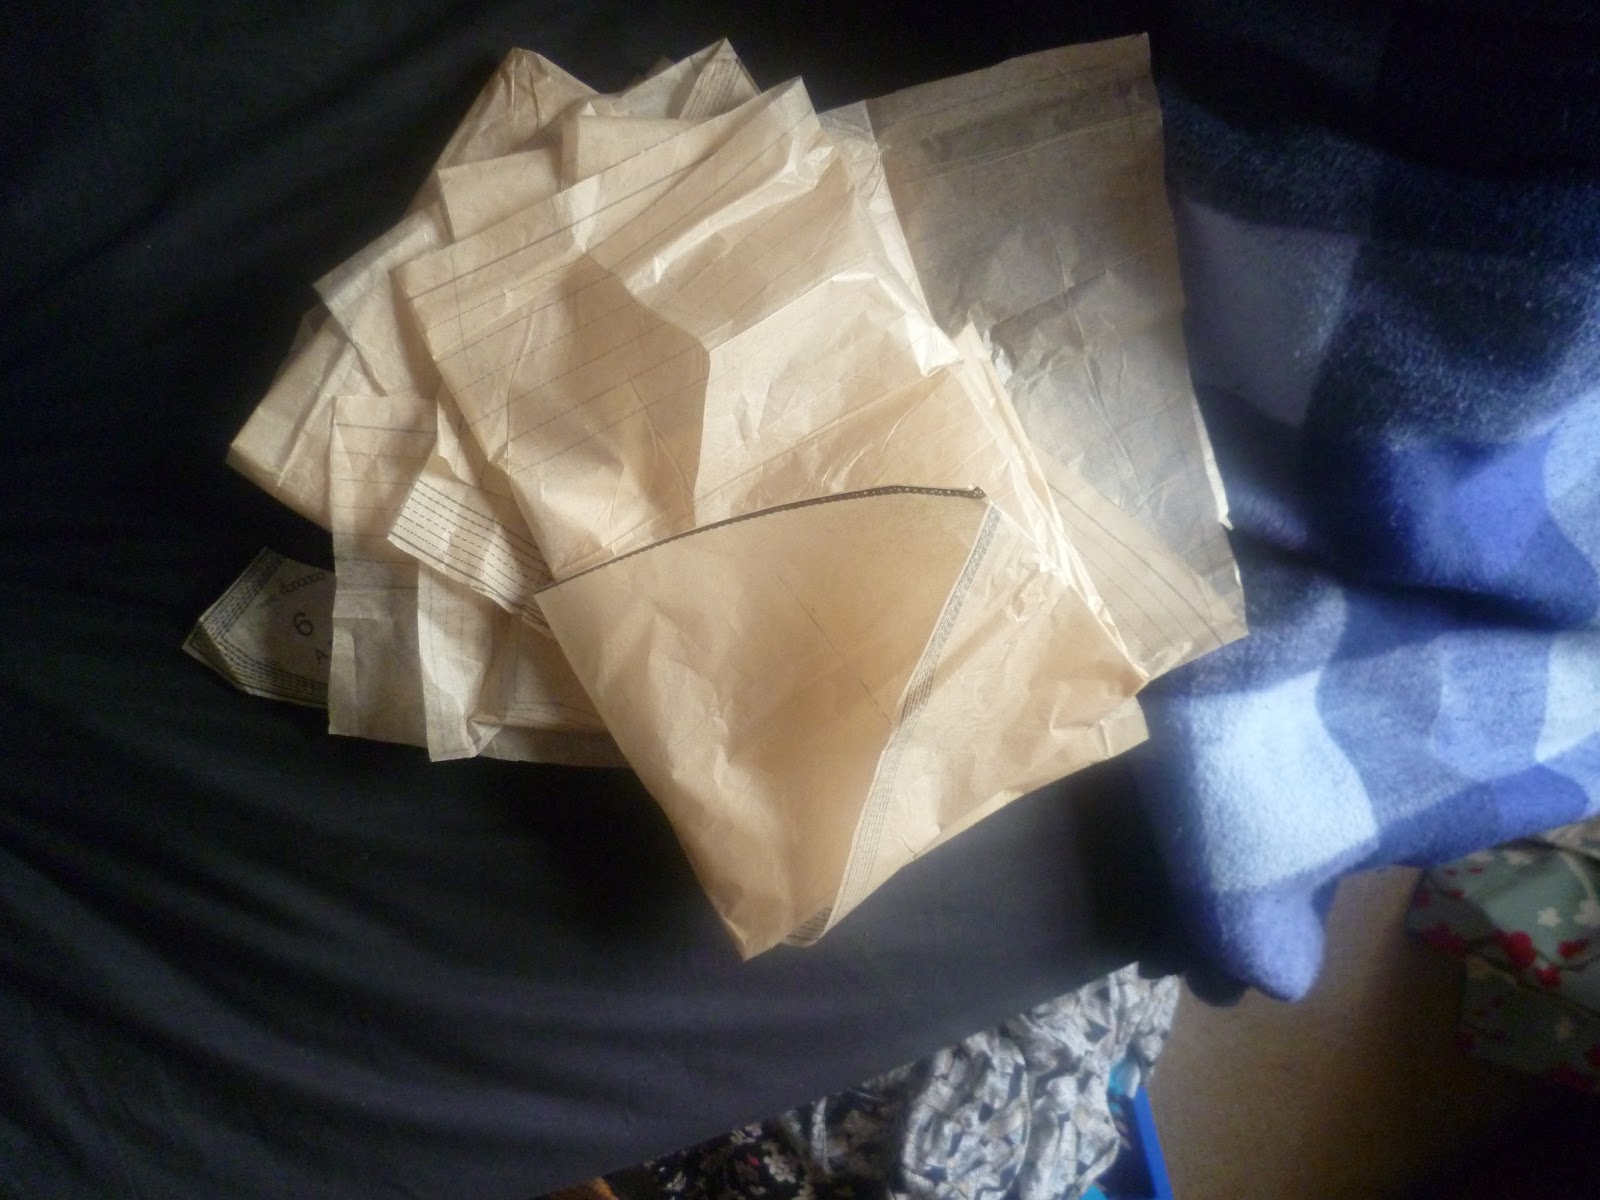
So I took my measurements and got started with the cutting of patterns, pinning the patterns to fabric and cutting fabric. Boring! The fabric was also annoying to cut. I had to keep it absolutely flat to the floor to stop it pulling itself out of place. I had to use lots more pins than usual while working with it. Some pattern pieces pinned to the fabric:
So I started with the pinning and sewing, following the instructions. They were pretty easy to follow, and when the dress was done it fit me pretty well! Hurrah! I added a bit of ribbon round the neckline, to be a simplified version of the white bits around the top of Merida's dress. Pretty convincing, I thought! I make a great Merida! This is the finished product (I swear it doesn't make me look that chubby in real life; camera flashes seem to have an unfortunate effect on the fabric):
The final stage for the costume was for me to dye my hair extra red and make it extra massive and curly. Fun!
All in all, I'm going to declare this dress a partial success. I mean it served a purpose, which was to be a costume for a party, but after just one evening it developed four holes along the seams, due to crap fabric. It's also stained and to be honest I have no idea how to wash it without destroying it. On the plus side, it was pretty simple to make, feels AMAZING to wear, got lots of compliments, and even won a costume prize. I do really like the design as well. Perhaps I'll try this again sometime, but with a nicer fabric.
All about my stumbling through life and my various projects to keep me occupied. Mostly photography orientated, but with whatever else I feel like thrown in as well.
Showing posts with label sewing. Show all posts
Tuesday, 14 May 2013
Sunday, 21 April 2013
My First Dress
After the success of making my own curtains, I decided to embark upon the challenge of making a dress. I really can't think what possessed me to do it now. Really don't know what my motivation was. But either way, I decided to try it, without the slightest clue what I was doing, really. I sort of vaguely knew that the first thing I needed was a pattern, so after a fairly uninspiring hunt online I took myself off to my local fabric shop, browsed through their catalogues, and selected this design:
I chose to do version A, the one with straps rather than sleeves. A nice 50s style type dress. I'd been wanting one for a while. I picked up a zip and interfacing at the shop while I was there too. The next step was buying fabric. The design I chose was black with white polka dots. It's a classic. The pattern told me how much I would need, and I just chose some cheap fabric on ebay. I decided I didn't want to spend much money on fabric seeing as it was a first attempt and was bound to go wrong. I could get some better fabric for a later attempt if this one went well. This was a decision I came to regret, cos the fabric was horrible. It was very thin and slightly see-through and also left dye on my fingers as I worked, like cheap newspaper. Yuck! And after just one wash it faded a fair bit too. Ah well. Live and learn!
So next I took my measurements and cut out all the pattern pieces I would need to my sizes. This was a seriously boring job and took aaaaaages. I had to listen to lots of audio books while cutting to stop me from going mad. Then it was time to cut out the fabric pieces. I was terrified of making a mistake, but the instructions were really clear and it all went pretty smoothly. I did have a problem with space though, as my bedroom is quite small and there wasn't room to lay the whole length of fabric out at once. I also couldn't fit all the pieces onto the fabric in the layout the pattern suggested. Good thing I bought extra fabric! Still, I pinned all the pattern pieces to the fabric with the correct orientation and cut all the pieces out.
Cut out pattern pieces
Some pattern pieces pinned to fabric
I decided to lengthen the skirt a bit to cover my knees. Risky move, changing a design when I didn't really know what I was doing. Still, my modification seemed to work just fine. :) Anyone spotted the mistake though? Yep, the darts. Those little triangular nicks in the bodice were meant to be sewn, and NOT cut out. Ah welll, live and learn. I sewed them back together and it went OK.
The next step was sewing things together! The instructions were pretty clear and I didn't have many problems following them. I found dress parts were much easier to work with than curtains. So much less fabric! Sewing was so quick! So much less heavy too! And sewing curves was really no more difficult than sewing straight lines. So I started off with the bodice. Sewing was all pretty straightfoward, really, though some bits were a little fiddly and frustrating. The interfacing was a bit bewildering though. I still don't really understand why I put it where I did and it's purpose. It's iron-on reinforcing stuff. Does the chest portion of my dress really need reinforcing? Shrug.
Some interfacing ironed onto an inside bit of the chest part.
After the fiddliness of the bodice, it surprised me just how quick and easy doing the skirt was. When all the bits were sewn together to gather it all I had to do was do a couple of rows of loose stitches and pull them until the gathering was even. Easy! It was also surprisingly easy to sew the bunched up fabric to the bodice, and it also looked good! I was worried that it was going to look terrible. In fact things only got complicated when it came to the zip. Urgh! Annoying fiddly thing. Did you know you have to use a completely different sewing machine foot for sewing in zips? And it turns out you also have to pin and baste them before you can sew. You have to pin the zip into place and then sew the fabric parts closed over the zip, otherwise the fabric moves and shows the zip when you sew. And once the zip is sewn in you need to cut all those hand stitches. Annoying...
Anyway, all that being done, tried it on...and it didn't fit. Too loose in lots of weird ways. I'd made wee adjustments on quite a few of my shop-bought dresses in the past. I've had to shorten the straps on just about every dress I've ever bought. But I just had no idea where to start on this. In the end I did the only thing a girl can do in these sorts of situations and asked my mummy. She put darts in here, here, here, here and here, and it now looks pretty good. Hurrah!
Finished dress!
So. Much. Fabric!
Wednesday, 18 April 2012
Curtains!
The biggest project I've done lately has been my home made curtains. A couple of years ago I made curtains for my bedroom at home with a LOT of help from Mum. And apart from doing a couple of squares for a patchwork quilt for Mum when I was little, that's pretty much all the sewing machine experience I have. So I was a little surprised when I got given a sewing machine a couple of Christmases ago. Quite frankly I didn't think I'd even be able to get it here. But in the Autumn Mum drove it up here for me, and bought me some fabric to make curtains for this room too, as the curtains I had were old, faded, cheap Ikea ones that were unbelievably thin and didn't close properly. I was surprised at how much the fabric cost. Over 300 pounds for the fabric, thermal lining, curtain tape and thread.
Sewing machine
Fabric
Thermal Lining
So the first challenge was setting the sewing machine up. This was done with the help of youtube. The instruction manual was all in Italian, and while my Italian is pretty good, names of sewing machine parts is not my strong point. Insert the something into the something and then do....something to something else. Hmmmm. Ok, so sewing machine all set up and ready to go. The next step was cutting the fabric. I had vague instructions from my mother about where to cut, but seeing as I am prone to brain farts I had a friend check it for me before I picked up the scissors. She pointed out that I was Doing It Wrong. Good thing I checked.
So, with my fabric and lining cut, I just decided to crack on with my very limited experience, and see what happened. First I pinned and sewed the widths of fabric together and sewed them. so far so good. Then I did the same for the lining. The next step was sewing the fabric to the lining and hemming the sides. Again, no disasters. Next came sewing the curtain tape to the tops of the curtains and hemming them. Well, this stuff was like no curtain tape i'd ever seen. Youtube to the rescue again. Before I could hang these curtains I bought a new curtain rail, and then got thoroughly confused by it and couldn't work out how to put it up. Another friend to the rescue. I owe him one!
I then inserted curtain hooks into the curtain tape and hung the curtains. They were about a foot too long. Being very lazy it took me a while to get round to ripping the excess fabric off the bottoms of the curtains and pinning them to hem. Mum told me to hand sew the bottom hems, but I got bored very quickly and took the curtains down again to machine sew.
The finished product!
What I learned from this project:
- I am very bad at choosing curtain fabric. They don't look at all like I thought they would.
- I hate sewing, whether by hand, or by machine. I ended up doing this in stages over many days so that I didn't get too bored and grumpy.
- How to change a sewing machine needle (I broke four).
- I don't understand my sewing machine. It keeps throwing tantrums at an alarming frequency.
- Curtains are much more complicated than they look!
- I can make curtains! :)
I have to say it is very nice to finally have decent looking curtains that keep my room nice and warm.
Subscribe to:
Posts (Atom)